If you want to learn how to run WordPress on your local PC, this step-by-step guide will show you everything you need to know. By the end of this guide, you’ll be able to set up a local environment for WordPress development and try out new features or plugins without affecting your live site.
Things You Need: WordPress, Xampp, WampServer
What are Xampp and WampServer?
If you’re new to web development, you may be wondering what Xampp and WampServer are. Xampp is a software package that includes all of the necessary tools for setting up a local web server on your computer. This is useful for developers who want to test their code locally before deploying it to a live server. WampServer is another similar software package that also includes all of the necessary tools for setting up a local web server.
How do they work?
Xampp and WampServer are two of the most popular options for setting up a local development environment. They are both free, open source software packages that make it easy to install and manage a web server on your computer. So how do they work? Both Xampp and WampServer contain everything you need to run a web server locally on your computer. This includes the Apache HTTP Server, MySQL database, PHP programming language, and tools for managing all of these components.
Assuming you have a Windows computer, the first thing you’ll need to do is download and install XAMPP. XAMPP is a free and open-source cross-platform web server solution stack package developed by Apache Friends, consisting mainly of the Apache HTTP Server, MariaDB database, and interpreters for scripts written in the PHP and Perl programming languages. Once you have installed XAMPP on your local machine, start it up. You should see something like this (Right Side). The next thing we need to do is create a new database for our WordPress site inside phpMyAdmin.
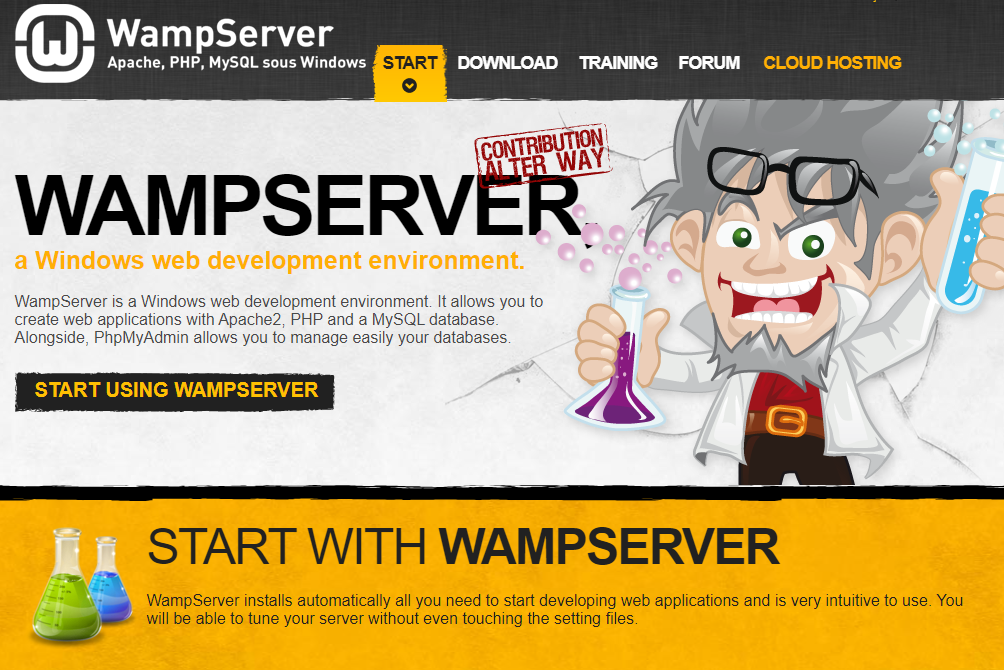
WampServer is a popular Windows web development platform. It allows you to create dynamic web applications with Apache, PHP, and MySQL.
If you are looking for a way to run Apache, MySQL, and PHP on your Windows 10 computer then you need to install WampServer. WampServer is a free open source web development environment that allows you to create web applications with Apache2, PHP, and a MySQL database.
3. Install Both Xampp and WampServer
Install both Xampp and WampServer using the links given above.
1.5.1
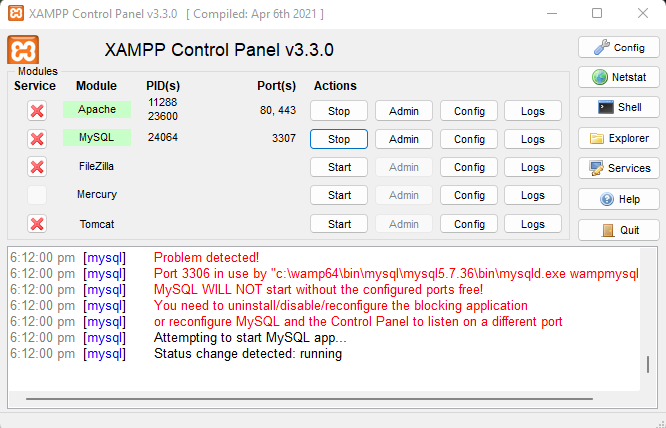
4. Start Apache & MySQL on Xampp Control Panel
Look at the left side Image, Press “Start” on both Apache & MySQL.
1.6.1
5. Apache or MySQL Error
You may get an error with Apache or MySQL
Change Port Number to an available number. Example: 3306 to 3307 Click here for more infomation.
1.7.1
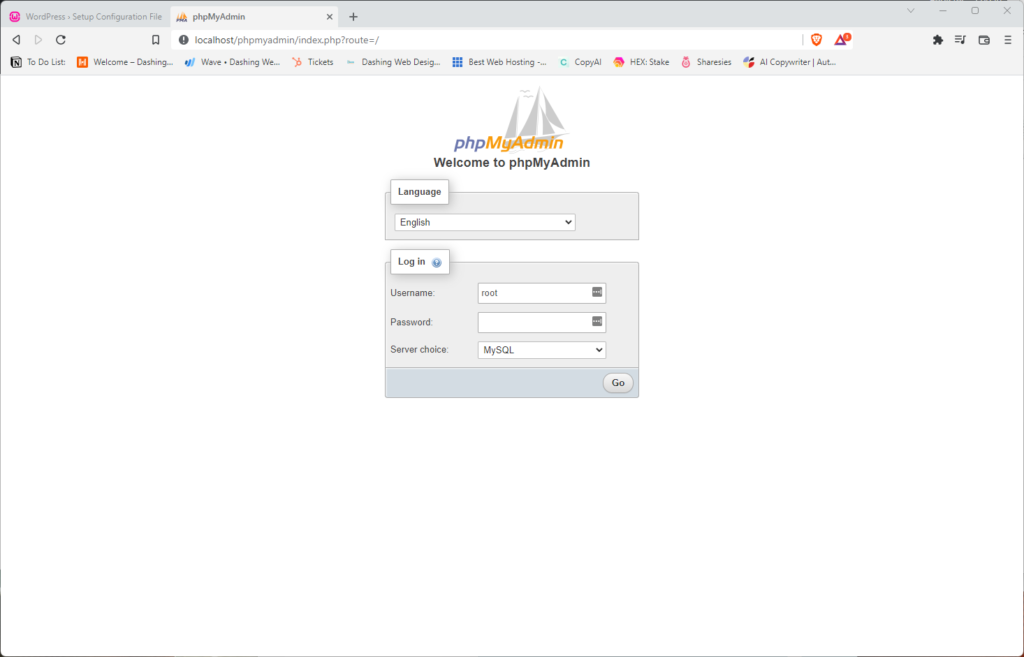
6. Access Database
Now that Xampp and WampServer is Installed.
Go To: localhost/phpmyadmin Username: root (Default Username) Password: (No Password)
1.8.1
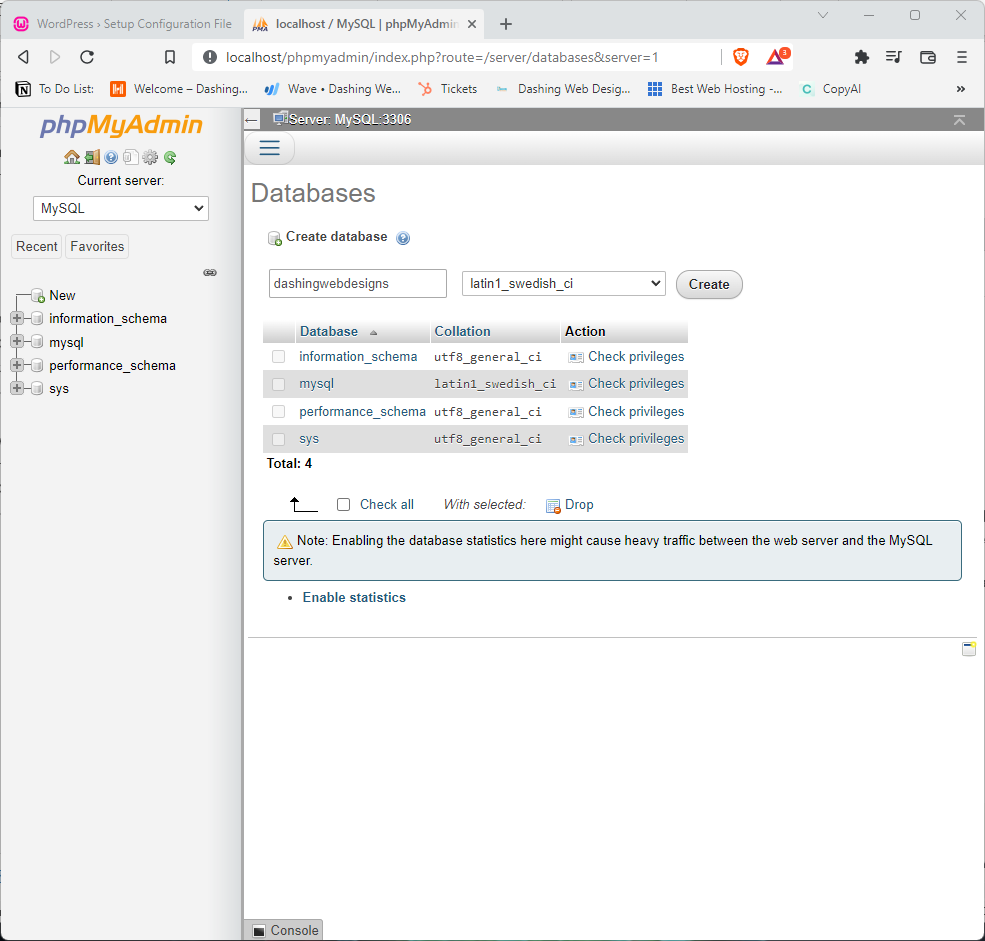
7. Create Database
Once logged into the Database Create a Database.
Click on “New” on the Left Pane
Create Database (Under “Database Name”)
Then click “Create”
1.9.1
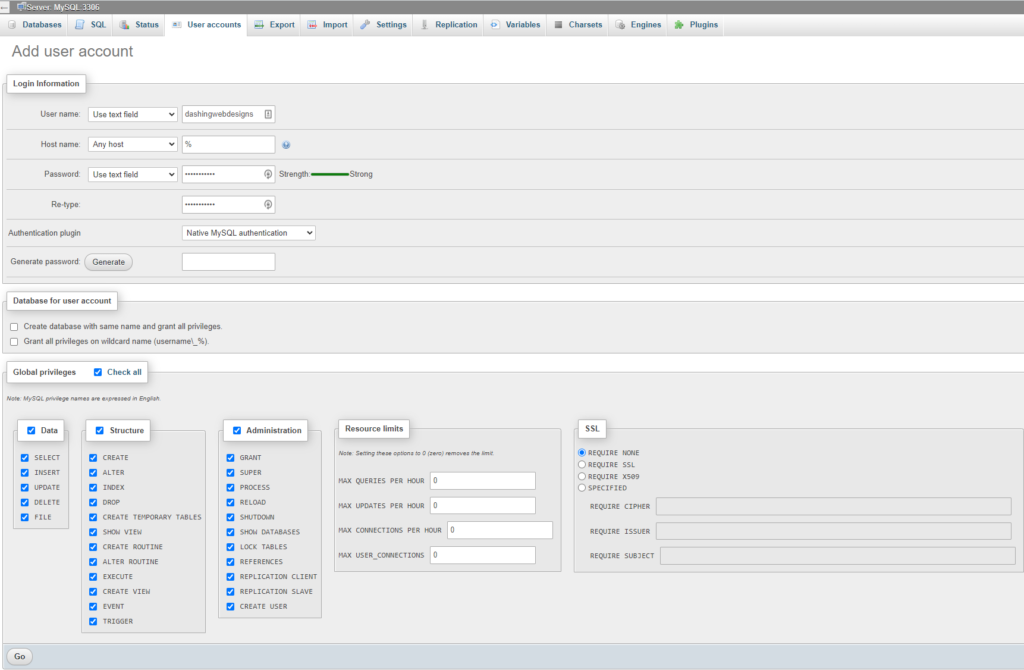
8. Create User Account
At the top of the page click on “User Account”
Click “Add User Account” Under New (See 1.10.1)
Fill in the Details (See 1.10.2)
Tick “Check All” Beside “Global Privileges” (See 1.10.2)
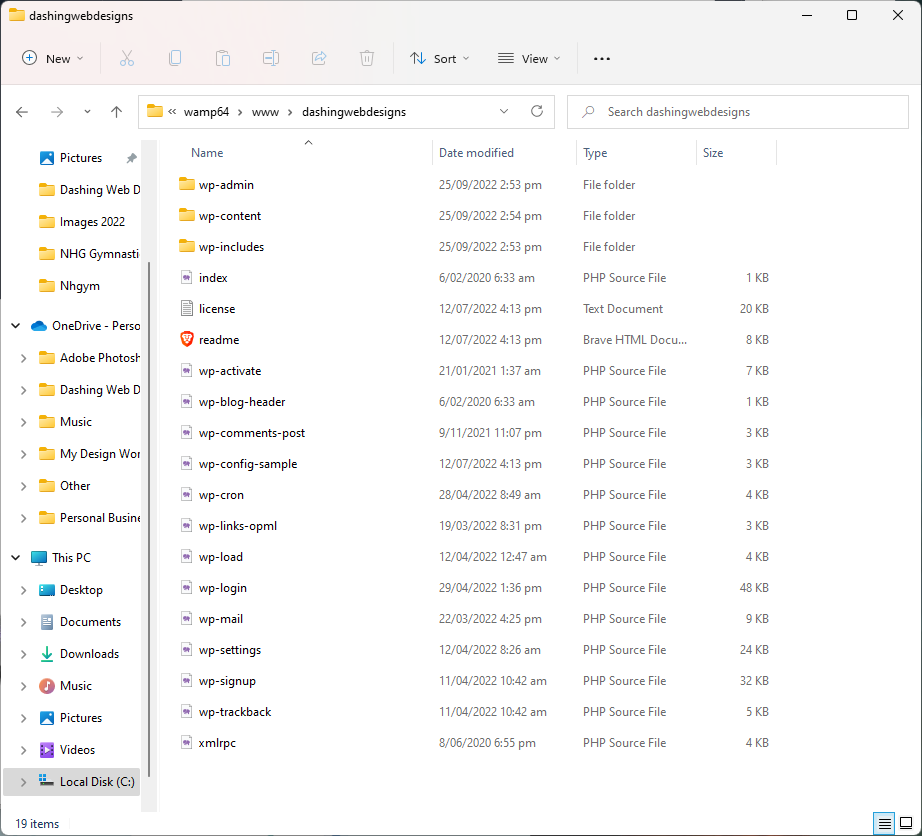
Extract WordPress Files into: C:\wamp64\www (Wherever your wamp64 folder is in place it under www folder).
Now we access WordPress Backend!
We’re almost there!
1.12.1
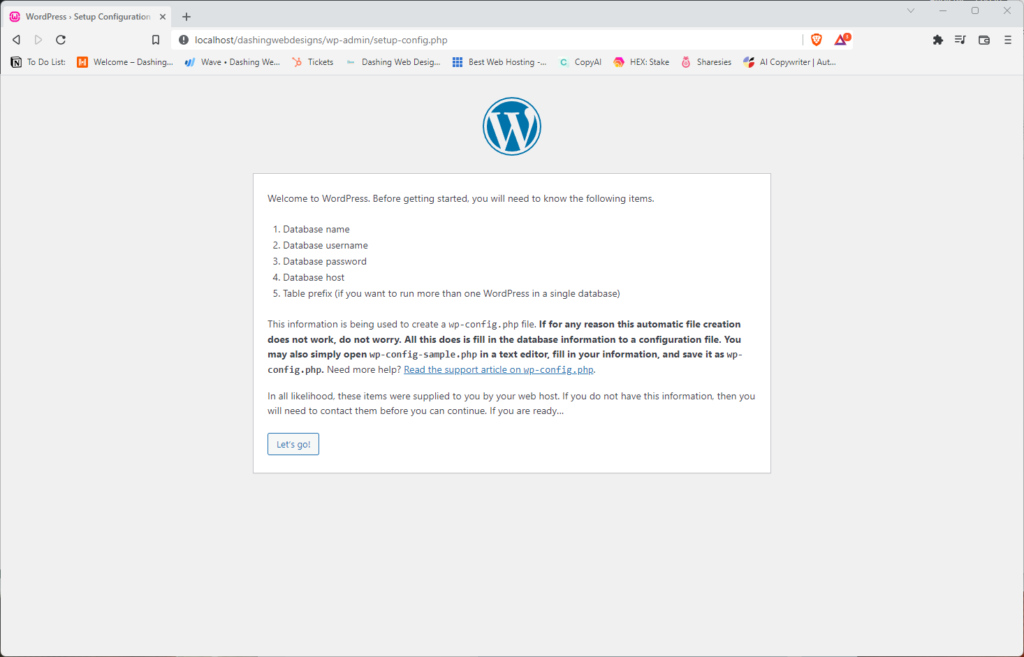
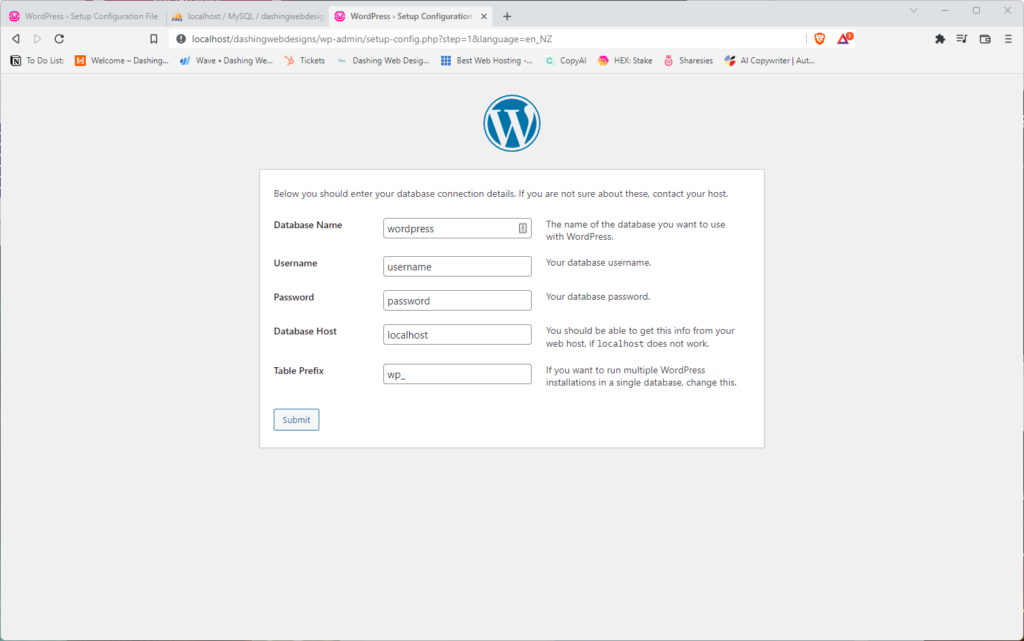
11. Link WordPress to Database
In your browser (Chrome, Firefox or Brave) in the URL section type the below: localhost/websitename (Refer to 1.13.1) Example: localhost/dashingwebdesigns
Fill in Database Name, Username, Password and leave the rest. (Refer to 1.13.2)
Continue with instructions given
1.13.1
1.13.2
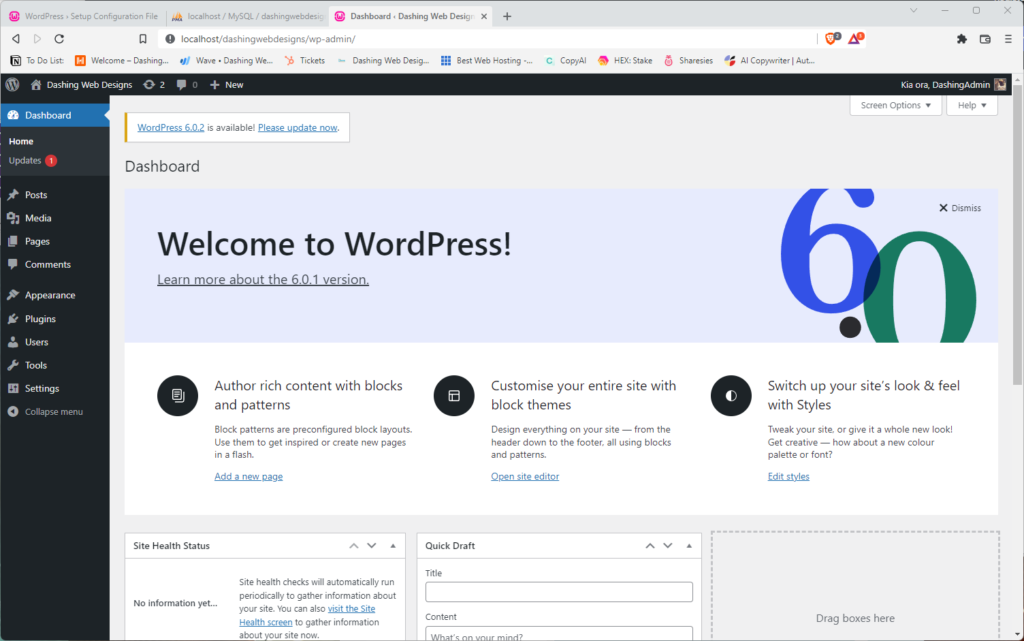
12. Access WordPress Backend and Frontend
Your WordPress should now be up and running through Localhost see 1.14.1
To Access backend localhost/websitename/wp-admin Example: localhost/dashingwebdesigns/wp-admin
To Access frontend localhost/websitename Example: localhost/dashingwebdesigns